TABLE OF CONTENTS
- Information needed in the Company & entity details page
- How to complete the Sites section
- How to complete and upload the CSV Template
Once your company’s Certification Scope is determined, some key information will be incorporated into the Company & entity details page. You can find the Company & entity details section on the Certification > Submission page. Before you submit your assessment for audit, it is critical to ensure that all the information in the Company & entity details page is updated and accurate.
Information needed in the Company & entity details page
There are three sections in the Company & entity details page.
Certification information: Check that your company’s name and legally registered address is accurate. This name and address will appear on your B Corp Certification certificate.
Entities & locations: Confirm the name and country of incorporation of all the entities in the scope of your certification. You can find a list of your entities in scope in your Certification Scope summary.
Sites: In this section, you will provide a list of sites for all of your entities in scope. A site is any physical location (permanent or temporary) where your company carries out business activities, or provides services. Your site list is a table of different locations of all operational facilities among the entities in scope.
How to complete the Sites section
Documenting your sites accurately is key to ensuring that your audit runs smoothly and that all your sites in scope are able to use the B Corp IP. You can either enter your site information directly into B Impact, or if you have multiple sites you can upload your site information through a downloadable CSV template.
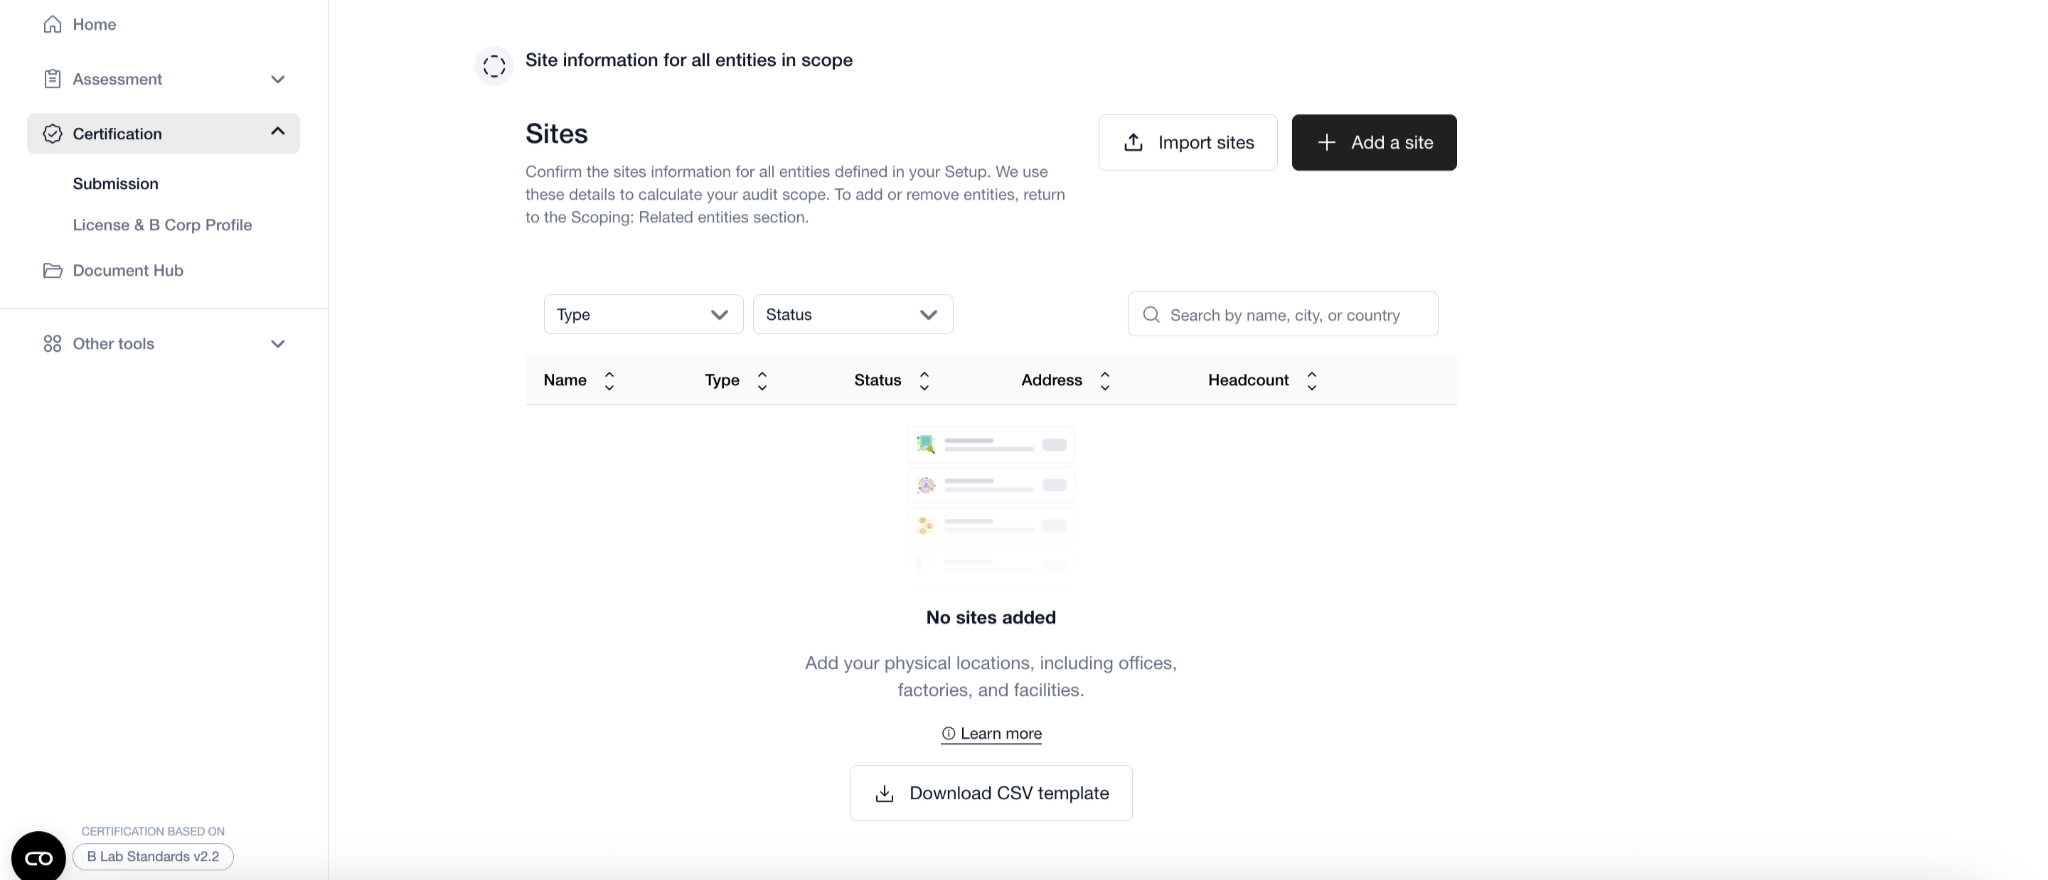
The information required is available in the Company & entity details page and is listed below:
How to complete and upload the CSV Template
Follow the steps below to successfully download, fill out, and upload your .csv file.
1. Download the template
- Click Download CSV Template.
- Save the file to your computer.
- Do not change the file format (it must remain .csv)
.
2. Open the file correctly.You can open the CSV template using:
- Microsoft Excel
- Google Sheets
- Apple Numbers
- Any spreadsheet software
Tip: If you use Excel, make sure it does not automatically change the file format when saving.
3. Enter your data
- Fill in the required fields following the column headers.
- Do not change the column names, order, delete columns you haven't used, or add additional columns; as this will affect the import of the file.
- Avoid:
- Extra spaces before/after text
- Special characters
- Blank rows in the middle of the file
4. Save the file as CSV. Do not rename the file, as this will affect the import of the file
This is the most important step.
- In Excel:
File → Save As → File Format → CSV (Comma delimited) (.csv) - In Google Sheets:
File → Download → Comma Separated Values (.csv)
Important:
- Keep the file in .csv format (not .xlsx).
- If prompted about multiple sheets or formatting, click Yes / Continue.
- Only the active sheet will be saved in CSV format.
5. Upload the file to the platform
- Return to the Company & entity details page.
- Click “Upload your sites list”
- Select your completed file.
- Click “Continue” to review your sites
6. Review your sites
- Your complete list of sites should be listed under the tab “to be imported”
- Check the “Invalid” tab for any sites that have any missing or incorrectly formatted information
- Correct any errors by clicking into the site (three dots icon) and a pop-up will allow you to directly edit the information. You may also download invalid rows, correct them using the software of your preference and re-upload it again later in .csv format.
- Click ‘save changes’ and check the error has now disappeared
- All sites should then appear in the “To be imported” tab
- Click “Start import”
- Click “Done”
Was this article helpful?
That’s Great!
Thank you for your feedback
Sorry! We couldn't be helpful
Thank you for your feedback
Feedback sent
We appreciate your effort and will try to fix the article